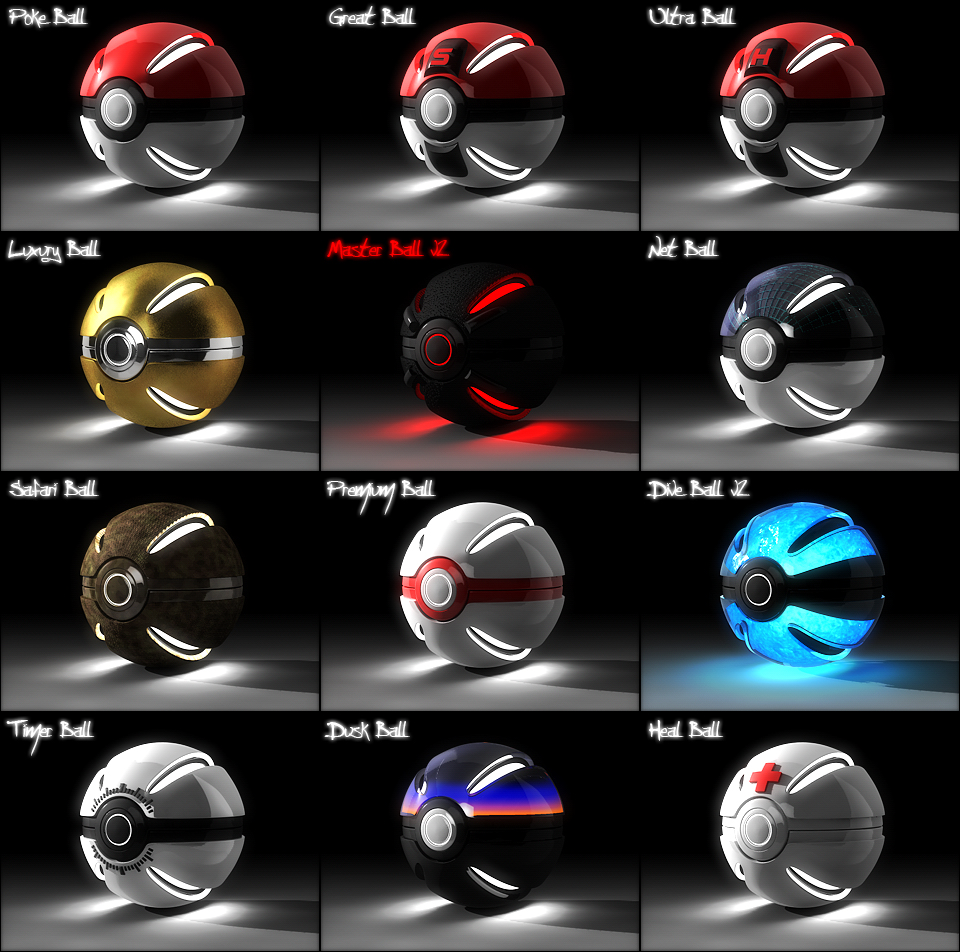
So, a short while back, I made this picture:

And I decided I wanted to take everything I had learned making various Pokéballs, and make an even better ball. Complete with hinge and interior. As I did some research on Pokéball interiors, I ran across this picture:
By this guy on deviantArt.
Now I want to make balls of similar awesomeness, complete with glowy stuff, yet with a much closer resemblance to the original art. So, here we go:
Open Blender. Delete the starting cube, center your cursor (Shift-C), and add a UV Sphere. The default resolution is fine. I'm going to scale that sucker up so that I can get more fine-grained control with the shrinkwrap modifier. A factor of 5 should be fine.

Delete the top half (or bottom, I care not). This is going to be the interior of the ball.
Now add:
Solidify modifier, with a thickness of 0.1.

Bevel modifier, width of 0.02, and 2 segments.
Subsurf modifier.
Set the shading to smooth and you get this:

Well, that looks rather faceted...
The bevels are preserving our edges against the heroic work of the subsurf modifier. We want this mechanic going for us, and at the same time, we don't: The bevel needs to take care of the sharp corners, but not the gently curving areas.
Fortunately, the bevel modifier has a setting for that! Limit Method.

Set that bad boy to angle, and set the angle to sixty or so degrees.

This is a fantastic cheat in hard-surface modeling in Blender. You can model sheet-like objects with uniform thickness using the solidify modifier (but you knew that), and enjoy the benefits of the subsurf modifier, while maintaining nice, sharp edges and hard corners, by adding an angle-limited bevel just before the subsurf.
Now, we want our ball interior to have segments, as in this handy diagram:

First, let's delete the middle vertex and a couple rings out, for the green 'energy source' to sit in. Then, pick a line, and rip it (V). Right click to put it right back where you found it.

The Bevel Modifier automatically gives us nice-looking, fitted seams.
Do that for the horizontals as well...
I've also tweaked the thickness of the solidify modifier (to 0.15) and the bevel modifier (to 0.05) to make the seams more apparent.

Duplicate your middle segments (Shift-D), right-click to drop them in place, then hide the duplicates (H). Now delete all but one of your middle segments.

Select this panel and hit (P) -- Seperate selection. Then switch to your single panel in object mode (but don't tab back into edit mode just yet).
Apply the subsurf modifier on the single panel. Then tab into edit mode.

Now delete the outermost vertices.

Center your cursor (Shift-C). Set the pivot to 'cursor', select your whole mirror, and scale it inward. Then duplicate it (Shift-D), rotate it ninety degrees on the Z-axis (R, Z, 90), duplicate that, rotate that, and once more, to get all four mirrors. Tab back into Object mode, select both objects, and hit Ctrl-J to join them once more.

There y'go. The mirrors are in place. I want to start coloring these now, so I can tell the difference between them.

Now lets add the little yellow lights. I know, the diagram says they're copper pins, but that's dumb. They need to glow.
Select the vertices in the intersections of the plates, duplicate them, separate them, and tab over to edit those suckers. Hit remove doubles on your toolbar so that there's one, not four, in each location. Tab back out and delete all the modifiers in the stack.
Then add a Skin Modifier:

Tab into edit mode and scale those cubes down by select everything and hitting Ctrl-A. Scale them in a bit the normal way (you should still have the cursor, at the origin, as your pivot) to make sure they are inside the ball, then drop a subsurf on them and give them their own color.

All that's left is the 'power source'. You should be able to figure out that bit on your own.

And a quick, low-quality render in Cycles:

cool
ReplyDelete