In
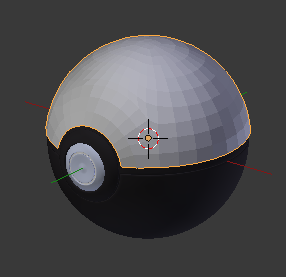
Part II, we made this sucker:
Let's add the shiny shell on the top to
complete our basic, high-tech fancy pokéball.
Snap your cursor to the shell, and add a circle. Tab into edit mode, rotate it 90 degrees on the X axis, and bring it forward on the Y axis so that it sits in front of your ball, around the button.
Delete the bottom half AND the center line.
Add another circle and scale it out.
Extrude the arc out once, the graft the circle onto it.
Eventually, you will need to extrude the upper arc out again, and do a hinkie corner thing in order to maintain even placement (which is what you're going for at this point).
The results, when you've got the whole thing done, are probably butt-ugly. But no worries: We've got that covered.
Add a shrink-wrap modifier, and set the target to the upper hinge assembly. Watch in amazement as the model snaps into place. (Note: You may have to set the offset to Quite a Bit.
Now, add the solidify, bevel, and subsurf modifiers as before.
Actually, I goofed. Change the target to the
lower assembly, and spin the mesh around so it's upside-down.
The reason for this is that the shrinkwrapped mesh will stop when it gets to the edge of its target. The button surrounder thingy is part of the upper mesh, but not the lower. So, if we target it at the lower, we are able to make a shell that comes right up to the edge of the button.
Now, we
apply the shrinkwrap modifier, duplicate our mesh, spin it around, and get the top of the shell.
Now we
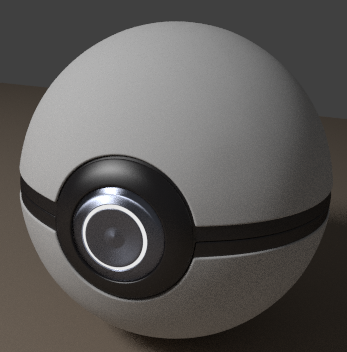
could just color it and call it here. And I will do so for tonight, but I don't plan on using this shell as the final shell, but rather as the basis on which other layers rest, allowing me to approach the coolness of that other dude.
Still, here's the beauty shot:
Move on to
Part 4.


No comments:
Post a Comment